How to Set Up a Screw Tightening Automation System | Precision Fastening Solutions
How to Set Up a Screw Tightening Automation System
Automating screw tightening processes in manufacturing can significantly enhance productivity, ensure consistent quality, and reduce human error. This guide outlines the key steps to set up a reliable screw tightening automation system tailored to your production needs.
1. Define System Requirements
Start by analyzing your application’s specifications. Determine the required torque range, screw size, tightening speed, and environmental conditions (e.g., temperature or vibration). Consider whether the system will handle a single product type or require flexibility for multiple configurations.
2. Select Core Components
- Torque Tool: Choose electric or pneumatic screwdrivers based on precision needs. Electric models offer better control for sensitive applications.
- Sensors: Integrate torque and angle sensors to monitor real-time data and prevent over-tightening.
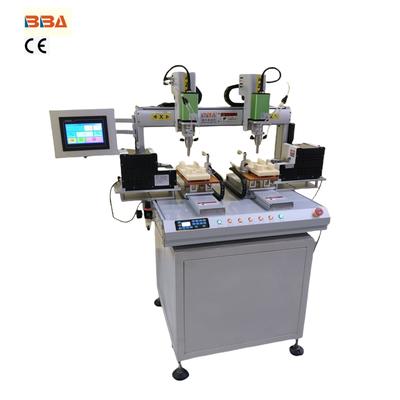
- Controller: Use a PLC to manage tool activation, data logging, and error handling.
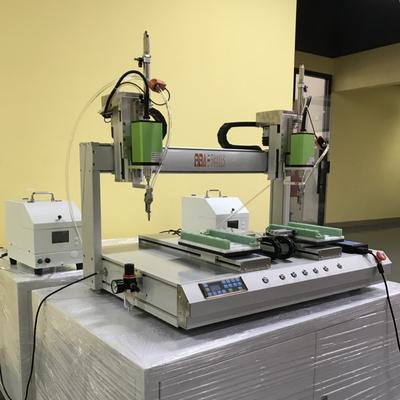
- Feeding System: Implement vibratory bowls or robotic arms for consistent screw supply and placement.
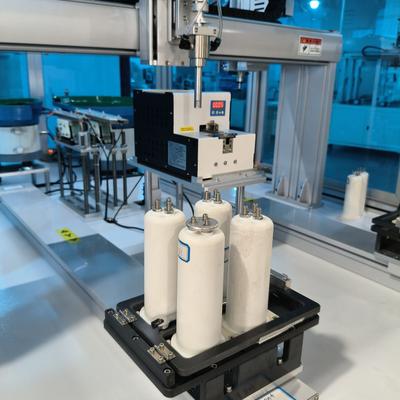
3. Mechanical & Electrical Integration
Mount the torque tool securely to a robotic arm or fixed workstation, ensuring alignment with target screw locations. Connect sensors and actuators to the PLC via industrial communication protocols (e.g., Ethernet/IP or Modbus). Power components must match facility voltage standards and include safety circuits for emergency stops.
4. Software Configuration
Program the PLC with logic for sequential tightening patterns, torque thresholds, and error responses. Develop an HMI interface for operators to input parameters and view system status. Example code snippet for torque monitoring:
IF Torque_Sensor > Max_Torque THEN
  Trigger_Alarm();
  STOP Motor;
END_IF
5. Calibration & Testing
Calibrate torque sensors using a reference tool and validate accuracy across the operational range. Conduct test runs with sample products, checking for:
- Consistent thread engagement
- Proper torque values (±5% tolerance)
- Efficient cycle times
6. Maintenance Protocol
Implement a routine maintenance schedule:
- Monthly: Inspect tool tips for wear
- Quarterly: Recalibrate sensors
- Annually: Replace pneumatic filters
7. Scalability Considerations
Design the system with modularity to accommodate future upgrades, such as adding vision systems for irregularly shaped components or integrating with MES for production tracking.
By following these steps, manufacturers can deploy a robust screw tightening automation system that improves throughput while maintaining stringent quality standards. Regular data analysis and component updates will ensure long-term operational efficiency.
| Product Name | Applicable industries |
| Servo Screwdriver Robot | Automotive Electronics Assembly |