Auto Screwdriver Bit Replacement Guide | Industrial Maintenance Tips
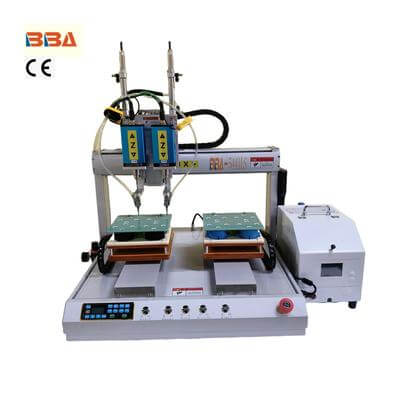
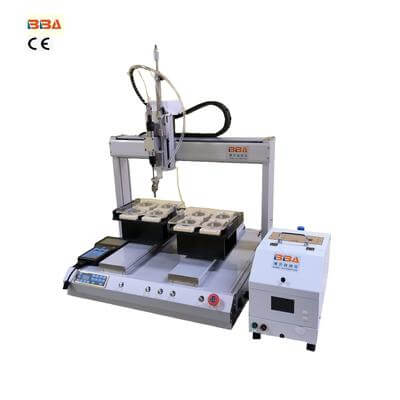
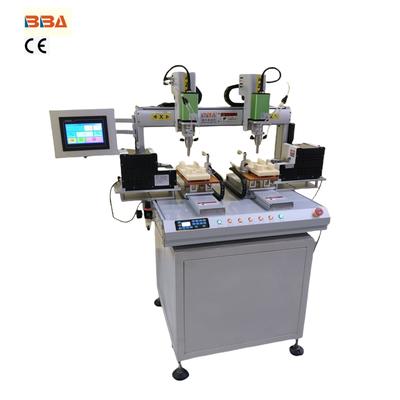
| Product Name | Applicable industries |
| Dual Head Screwdriver | Telecommunication Equipment Assembly |
Replacing Worn Bits in Auto Screw Drivers
In the fast-paced world of industrial automation, the efficiency and reliability of equipment are paramount. Auto screw drivers are workhorses in assembly lines, ensuring consistent and precise fastening operations. However, like any tool, they are subject to wear and tear, particularly in their bits. Regular inspection and timely replacement of worn bits are not just recommended; they are essential for maintaining productivity, product quality, and operational safety.
The Critical Impact of Worn Bits
A worn-out bit might seem like a minor issue, but its consequences can be significant and costly. The primary function of a screwdriver bit is to transfer torque effectively from the driver to the fastener. When the bit wears down, its ability to grip the screw head diminishes. This leads to a higher probability of cam-out, where the bit slips out of the screw head. This slipping can cause a multitude of problems:
- Damage to Screws and Products: Stripped screw heads render fasteners unusable and can scratch or damage the product surface, leading to increased scrap rates and rework.
- Reduced Assembly Quality: Inconsistent torque application due to slipping can result in under-tightened or over-tightened screws. This compromises the structural integrity and quality of the final assembly, potentially leading to field failures.
- Increased Downtime: Frequent bit slippage and subsequent errors require operators to intervene, slowing down the entire production line and reducing overall equipment effectiveness (OEE).
- Accelerated Tool Wear: A worn bit forces the auto screw driver to work harder and can cause abnormal stress on the tool's motor and clutch, leading to more frequent and expensive repairs.
Identifying a Worn-Out Bit
Proactive maintenance is key. Operators and maintenance personnel should be trained to recognize the signs of bit wear before it leads to failure. Key indicators include:
- Visible Deformation: Inspect the tip of the bit for rounding, chipping, or flattening. Compare it to a new bit to spot differences.
- Performance Issues: Listen for unusual sounds like grinding or clicking during fastening. Observe if the driver is struggling or repeatedly attempting to drive a screw.
- Output Inspection: Regularly check the finished product for stripped screw heads or inconsistent screw seating.
Establishing a regular inspection schedule based on the driver's usage cycles is a best practice to prevent unexpected downtime.
Best Practices for Replacement
Replacing a worn bit is a straightforward process, but it must be done correctly to ensure optimal performance.
- Select the Correct Replacement: Always use high-quality bits designed specifically for automated applications. These bits are made from superior grades of steel and are often coated to enhance durability and wear resistance.
- Follow Proper Installation Procedures: Power down and isolate the auto screw driver before any maintenance. Securely insert the new bit into the chuck or holder, ensuring it is straight and fully seated. Refer to the tool's manual for the recommended tightening procedure for the collet.
- Calibrate the Tool: After replacing the bit, it is good practice to verify the torque settings of the auto screw driver. A new bit will transfer torque more efficiently, and settings might need slight adjustment to achieve the desired clamping force.
Conclusion: An Ounce of Prevention
In industrial automation, every component plays a vital role in the seamless operation of the production line. The humble screwdriver bit is no exception. Neglecting its condition can have a disproportionate negative impact on efficiency, cost, and quality. Implementing a disciplined preventive maintenance program for inspecting and replacing worn bits is a small investment that pays substantial dividends. It ensures your auto screw drivers continue to operate at peak performance, safeguarding your production output and maintaining the high standards of your manufactured products.