How to Reset a Screw Feeding Machine: Step-by-Step Guide | Smart Wearables Production

| Product Name | Applicable Industry |
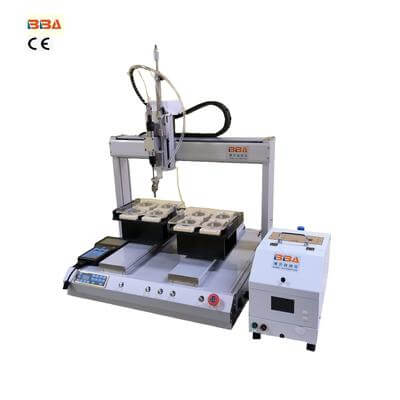
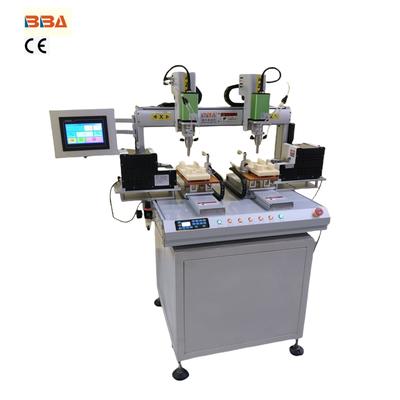
| Screw Locking Robot | Smart Wearables Production |
Screw feeding machines are critical components in assembly lines, ensuring efficient and accurate delivery of screws during manufacturing processes. However, like any automated system, they may encounter errors that disrupt operations. Resetting the machine after an error requires a systematic approach to restore functionality and minimize downtime. Below is a step-by-step guide to troubleshoot and reset a screw feeding machine effectively.
1. Identify the Error Type
Start by checking the machine’s control panel or HMI (Human-Machine Interface) for error codes or alerts. Common issues include sensor misalignment, jammed screws, motor overload, or communication failure. Document the error code and refer to the machine’s manual for specific troubleshooting instructions. If no code is displayed, inspect the feeding mechanism visually for obstructions or misaligned components.
2. Power Down the Machine Safely
Before performing a reset, turn off the machine’s power supply to ensure operator safety. Disconnect it from the main power source and wait 30 seconds to allow residual energy to dissipate. This step helps clear temporary electrical faults and resets the control system. For machines with backup batteries, consult the manual to determine whether a full power cycle is necessary.
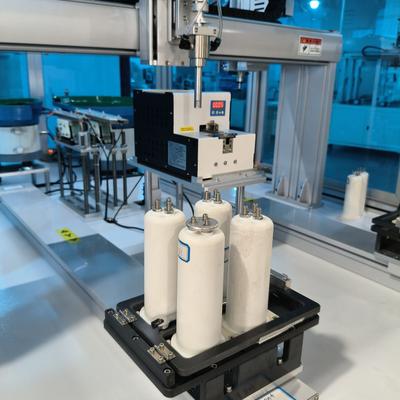
3. Clear Mechanical Obstructions
Inspect the feeding track, hopper, and screw delivery nozzle for debris or stuck screws. Use non-abrasive tools to remove blockages gently. Avoid damaging alignment guides or sensor components. For persistent jams, disassemble the feeding mechanism according to the manufacturer’s guidelines, clean parts with compressed air, and reassemble them carefully. Lubricate moving parts if specified in the maintenance manual.
4. Recalibrate Sensor and Feeder
Misaligned sensors are a frequent cause of errors. Power the machine back on and access the calibration menu via the control panel. Follow the prompts to adjust the sensitivity of optical sensors or proximity switches. Test the feeder by running a few screws manually to ensure smooth travel through the track. If a vibration feeder is used, verify that amplitude and frequency settings match the screw size and material.
5. Perform a Test Run
After addressing the error and recalibrating, initiate a test cycle without connecting the machine to the production line. Observe the feeding process for consistency and accuracy. If the error recurs, repeat the troubleshooting steps or consult technical support. For a successful test, reintegrate the machine into the assembly line and monitor its performance for at least one full production cycle.
Preventive Maintenance Tips
To reduce future errors, implement a routine maintenance schedule. Clean the feeding mechanism weekly, replace worn components like belts or guides promptly, and keep firmware updated. Train operators to recognize early signs of malfunction, such as irregular feeding noises or delayed cycles. Proper maintenance not only minimizes downtime but also extends the machine’s lifespan.
By following these steps, operators can efficiently reset screw feeding machines after errors and maintain seamless production workflows. Always prioritize safety and adhere to the manufacturer’s guidelines for optimal results.