Replace Robotic Screw Machine Bit & Feeder Tube | Maintenance Guide
How to Replace Bit and Feeder Tube on Robotic Screw Machine
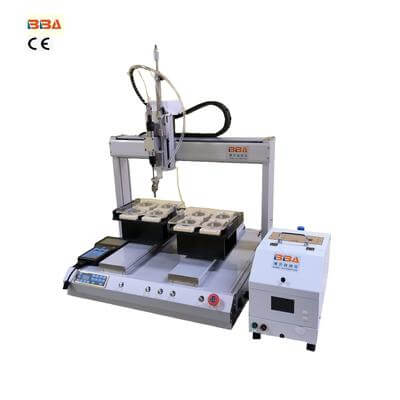
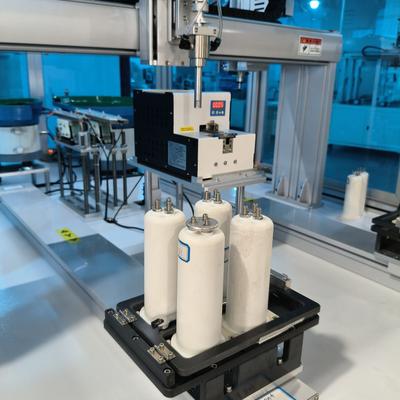
Robotic screw machines are critical for precision assembly processes, but their efficiency relies heavily on properly functioning bits and feeder tubes. Regular maintenance and timely replacement of these components ensure consistent performance and reduce downtime. Below is a step-by-step guide to safely replace the bit and feeder tube on a robotic screw machine.
Tools and Materials Required
- Replacement bit (size-specific)
- New feeder tube (compatible with machine model)
- Hex key set
- Needle-nose pliers
- Safety gloves and goggles
- Cleaning brush or compressed air
Step 1: Power Down the Machine
Before starting any maintenance, shut off the robotic screw machine and disconnect it from the power source. Lock out the power supply to prevent accidental activation. This ensures operator safety during the replacement process.
Step 2: Remove the Old Bit
Locate the screw-driving spindle and use the appropriate hex key to loosen the collet or chuck holding the bit. Gently pull the bit downward to detach it. Inspect the spindle for debris or wear, and clean it using a brush or compressed air before installing the new bit.
Step 3: Install the Replacement Bit
Insert the new bit into the spindle, ensuring it aligns with the driver mechanism. Tighten the collet or chuck firmly using the hex key. Avoid over-tightening, as this may damage the bit or spindle. Verify that the bit sits securely and rotates freely when manually tested.
Step 4: Replace the Feeder Tube
Remove the worn feeder tube by loosening its mounting bracket with a hex key. Detach any connected fasteners or clips using needle-nose pliers. Slide the old tube out of the feeding system, then insert the replacement tube in the same orientation. Secure it with the bracket and reattach fasteners to ensure minimal vibration during operation.
Step 5: Test the Assembly
Reconnect the power supply and run a test cycle without screws to check for smooth movement. Gradually introduce screws to verify proper feeding and driving. Adjust the bit depth or tube alignment if inconsistencies arise.
Key Considerations
- Always use manufacturer-recommended replacement parts.
- Calibrate torque settings after bit replacement.
- Monitor component wear monthly to schedule proactive maintenance.
By following these steps, operators can maintain optimal performance of robotic screw machines while minimizing production interruptions. Always refer to the machine’s technical manual for model-specific guidelines.
| Product Name | Applicable Industry |
| Inline Screw Locking System | Toy and Game Console Production |