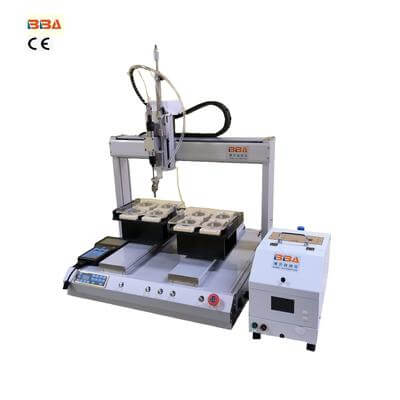
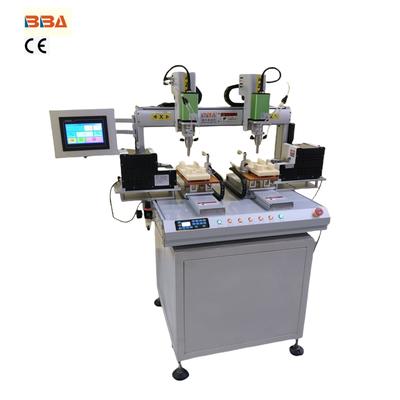
How to Reset a Screw Feeding Machine: Step-by-Step Error Troubleshooting Guide
Screw feeding machines are critical components in assembly lines, ensuring efficient and accurate delivery of screws during manufacturing processes. However, like any automated system, they may encounter errors that disrupt operations. Resetting the machine after an error requires a systematic approach to restore functionality and minimize downtime. Below is a step-by-step guide to troubleshoot and reset a screw feeding machine effectively.
1. Identify the Error Type
Begin by checking the machine’s control panel or HMI (Human-Machine Interface) for error codes or alerts. Common issues include sensor misalignment, jammed screws, or motor overload. Document the error message to reference during troubleshooting. If the machine lacks a display, inspect physical components for visible obstructions or irregularities.
2. Power Down the Machine
Safely disconnect the machine from the power source to prevent accidental activation. Allow moving parts to come to a complete stop. Verify that all safety protocols, such as lockout/tagout procedures, are followed to protect personnel during maintenance.
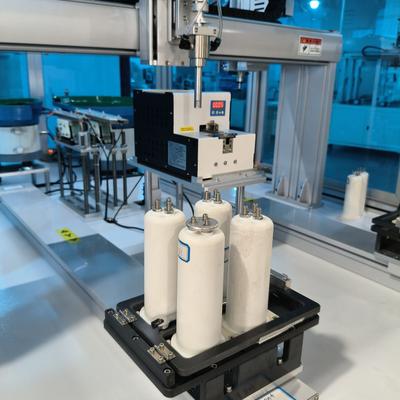
3. Clear Mechanical Obstructions
Inspect the feeding track, hopper, and screw delivery mechanism for debris or misaligned screws. Use non-abrasive tools to remove blockages gently. Avoid damaging internal components, especially sensors or alignment guides. Lubricate moving parts if specified in the manufacturer’s maintenance guidelines.
4. Reset Sensors and Calibration
Sensors ensure screws are fed correctly. Clean optical sensors with a soft cloth to remove dust or residue. Recalibrate the sensor alignment using the machine’s software interface or manual adjustment knobs. Test sensor responsiveness by simulating screw movement through the track.
5. Reboot the Control System
Power the machine back on and access the control system. Navigate to the error log to clear the previous fault. Perform a soft reset via the control panel to reinitialize the system. If errors persist, consult the machine’s manual for advanced diagnostics or firmware updates.
6. Test with a Controlled Run
Load a small batch of screws into the hopper and initiate a test cycle. Observe the feeding process for consistency, speed, and accuracy. Monitor the control system for recurring errors. Adjust vibration settings or feed rate if screws misfeed or jam during testing.
7. Implement Preventive Measures
Regular maintenance reduces error frequency. Schedule routine inspections of mechanical parts, sensors, and software. Train operators to recognize early signs of malfunctions, such as unusual noises or delayed feeding. Keep spare components on hand for quick replacements.
By following these steps, operators can efficiently reset screw feeding machines after errors and maintain seamless production workflows. Prioritize safety and precision to extend equipment lifespan and optimize performance.
| Product Name | Applicable industries |
| Dual Head Screwdriver | Toy and Game Console Production |